
A bathroom fan that is too weak, badly ducted or switched off too soon can be almost as frustrating as having no fan at all. Condensation still builds up, mould returns around the ceiling, and the room never properly clears after a shower.
This checklist helps you brief a competent electrician for a bathroom extractor fan installation. It is not DIY electrical guidance. The aim is to make the decisions that affect safety, extraction performance, disruption and quote accuracy before work begins.
Start with the right installation scope
Before choosing a fan or asking for prices, establish what sort of job you actually have. A straightforward replacement is very different from a new installation that needs a hole through an external wall, ducting across a loft and a new electrical connection.
- Decide whether this is a replacement, new installation or upgrade. Note whether there is an existing fan, whether it works, and whether its current duct route can be reused. A noisy or ineffective fan may point to a ducting problem rather than just a failed unit.
- Identify the intended mounting position. Is the fan going through an external wall, in a ceiling, in a window, or remotely mounted as an inline fan? The layout determines the equipment and labour involved.
- Flag any new ducting, electrical connection or exterior work. Core drilling, loft access, ceiling alterations and external grilles should be part of the initial scope, not surprise extras after the quote is accepted.
- Describe the bathroom's use. A rarely used cloakroom has different demands from a busy family bathroom or an en-suite used for daily showers.
Do not treat this as a generic contractor-hiring exercise. A good brief gives the electrician enough information to assess whether the proposed fan can genuinely remove moisture from the room and discharge it safely outdoors.
Checklist: establish whether the bathroom needs mechanical extraction
An opening window is useful, but it is not always a reliable answer to bathroom moisture. In practice, windows are often kept closed in cold weather, at night, or when privacy and security are a concern. Frequently used bathrooms, shower rooms and en-suites particularly benefit from mechanical extraction.
- Look for signs that moisture is lingering. Condensation on mirrors and windows, mould spots, peeling paint, swollen finishes and persistent odours all suggest the room is not drying quickly enough.
- Consider how people use the room. A powerful shower, several consecutive showers, or a bath used daily creates a substantial moisture load. Extraction needs to deal with real household habits, not ideal ventilation habits.
- Confirm that air will be discharged outside. An extractor fan must not simply blow damp air into a loft, ceiling void or cupboard. That moves the moisture problem into the building fabric, where it can cause hidden mould and damage.
The practical goal is straightforward: capture moist air near its source and move it outdoors before it condenses on cold surfaces.
Checklist: calculate the right extractor fan size and airflow
"Size" does not just mean the diameter of the grille. For performance, it means whether the fan can move enough air for the room and the resistance created by its duct route.
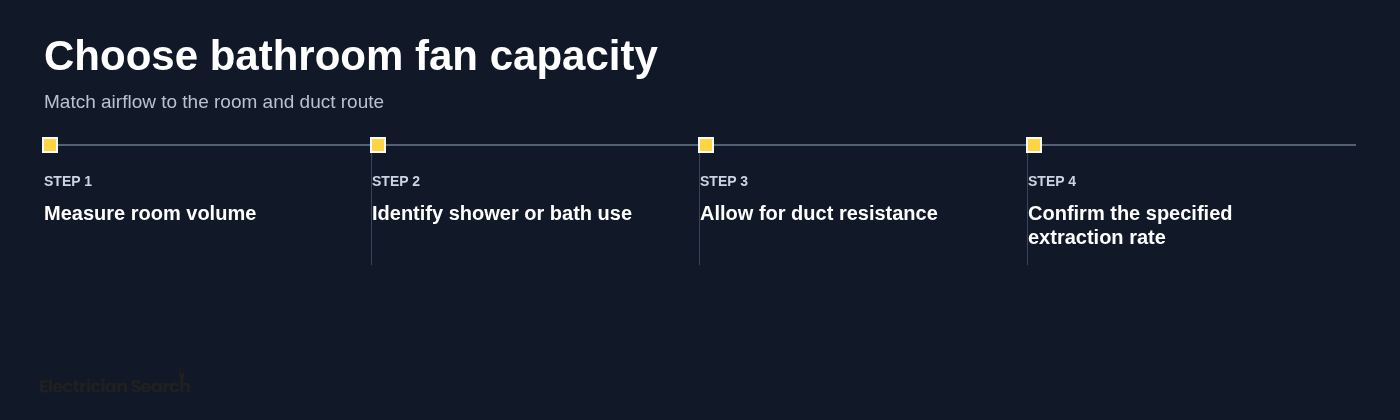
- Measure the room volume. Multiply length by width by ceiling height. Give the electrician the measurements, including awkward ceiling shapes if the room is in a loft conversion.
- Identify moisture-heavy use. A room with a shower or bath usually needs more robust extraction than a WC with a basin. Mention whether the shower is enclosed, open-plan or unusually powerful.
- Check the airflow rating, not just the fan's appearance. Fans are commonly rated in litres per second or cubic metres per hour. Those figures help compare models, but headline performance can fall when air has to travel through ducting.
- Account for the full route. Long runs, bends, restrictive grilles and undersized ducts all reduce airflow. Ask the electrician to recommend fan capacity for the room and the planned route rather than buying a unit solely because it has a high advertised extraction rate.
A fan that performs well on a short, straight wall outlet may be the wrong choice for a ceiling installation with a long loft run. The route and the fan need to be specified together.
Checklist: choose the fan type for the room layout
Choose the basic fan arrangement around the physical layout first. This narrows the options before the electrician visits and helps avoid a solution that looks neat but struggles to move air effectively.
- Use a through-wall axial fan for a short, direct route. Where the bathroom backs onto an external wall, this is often the simplest arrangement because air can travel straight outside.
- Consider centrifugal or mixed-flow equipment for longer runs. These options can be more suitable where ducting has to travel some distance or negotiate bends, such as from an internal bathroom through a loft.
- Choose an inline fan where lower in-room noise matters. The motor sits remotely in the duct run, leaving only a ceiling grille in the bathroom. It can be a good choice, but it still needs accessible maintenance arrangements and a properly planned route.
Wall-mounted and window-mounted fans
A wall-mounted fan is practical when there is a clear external wall close to the bathroom. Confirm that the proposed position is not blocked internally by cabinets, mirrors or pipe boxing, and that the outside location is not obstructed by extensions, structures or awkward access.
Window-mounted fans can be an option where wall or ceiling routes are impractical, but altering glazing may require a separate glazing specialist. Do not assume an electrician will automatically include replacement glass or a suitable prepared panel in their quotation.
Ceiling-mounted and inline fans
Ceiling grilles and inline systems are often the right answer for internal bathrooms, but they require more planning than a direct wall installation. The electrician needs to assess the duct path, how the fan and ducting will be supported, and how future servicing can be carried out.
Loft insulation, limited headroom and cold roof spaces matter. Poorly routed or uninsulated ducting can encourage condensation within the duct, so the installation should be designed for the conditions it will actually face.
Checklist: specify controls that keep the fan running long enough
The best fan will underperform if it stops the moment somebody turns off the bathroom light. Decide how it should operate before the work starts.
- Choose a separate switch if independent control suits the household. This gives users direct control, but it relies on people remembering to run the fan after bathing or showering.
- Use a light-linked fan with an overrun timer for straightforward everyday use. The fan starts with the light and continues after the light is switched off, helping remove moisture after the user leaves the room.
- Consider a humidity sensor where moisture levels vary. A humidistat can trigger or maintain extraction when humidity rises, which can be useful in busy bathrooms or homes where people are unlikely to use a separate switch consistently.
- Ask about continuous low-level operation where appropriate. Some systems are designed to provide ongoing background ventilation and increase output when needed. The electrician can advise whether this approach suits the room and installation.
At handover, ask for clear instructions on the settings, the location of any isolator, and whether timer or humidity thresholds can be adjusted. A control that nobody understands is not a useful feature.
Checklist: plan ducting and the external discharge point
Ducting is where many bathroom fan installations succeed or fail. The fan itself is only one part of the system; a poor route can turn a capable unit into a disappointing one.
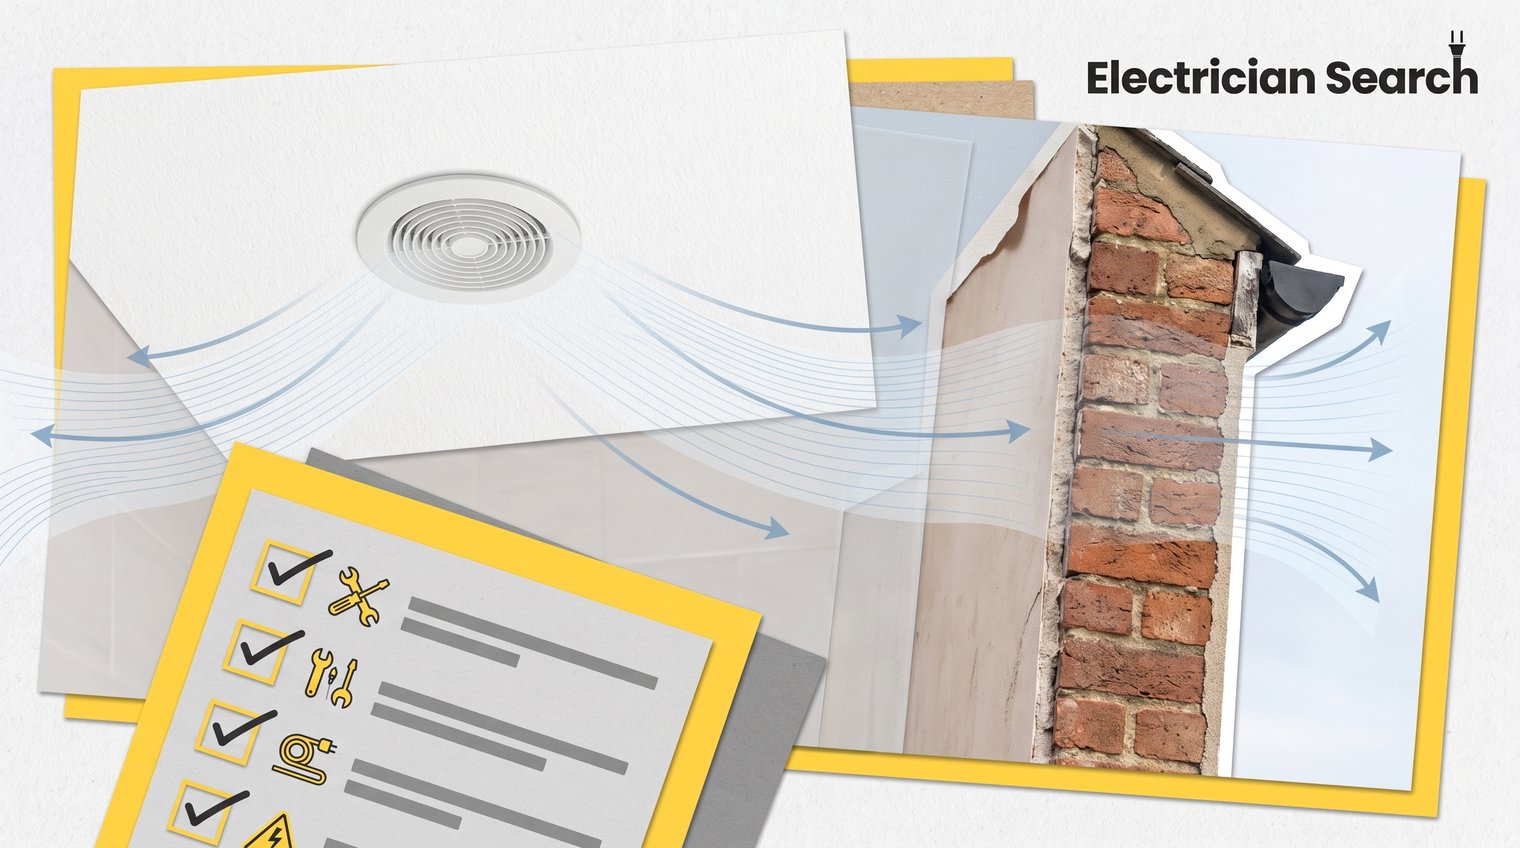
- Ask for the shortest practical route to outside. Keep runs smooth and as straight as possible. Every unnecessary bend adds resistance and reduces effective extraction.
- Confirm the duct diameter matches the specified fan. Restricting a fan with undersized ducting undermines the airflow you are paying for.
- Prevent condensation within the route. Ducting in cold spaces may need appropriate insulation and support. It should not sag in a way that creates low points where moisture can collect.
- Ensure joints and connections are secure. Unsealed joints can leak moist air into roof spaces, while compressed flexible ducting can severely restrict airflow.
- Agree the external outlet position. Consider weather protection, appearance, access and nearby opening windows. The outlet should be a deliberate part of the design, not an afterthought.
Discharge into a loft space is not an acceptable shortcut. It may hide the problem for a while, but it introduces damp air where you least want it.
Checklist: assess electrical safety and bathroom zones
This part of a bathroom electrical work checklist for UK homes is a set of questions for a qualified electrician, not a substitute for design, inspection or testing. Bathrooms have particular electrical safety considerations because water and electricity are a high-risk combination.
- Ask whether the proposed fan is suitable for its bathroom location. The electrician should consider the relevant bathroom zones, the fan's IP rating and the manufacturer's installation instructions.
- Confirm the location of any isolator. The isolator must be suitable for the arrangement and accessible for safe maintenance without creating an inappropriate switching point in the bathroom.
- Check whether the existing circuit is suitable. Ask whether the fan can be connected safely to the existing supply and whether any protective devices or circuit conditions need attention.
- Ask what certification or notification applies. The answer depends on the work and the property, so get clarity before commissioning the job and retain any paperwork provided.
Do not assume that fitting a bathroom fan is merely a decorating task with a cable attached. The electrical element should be properly assessed and tested as part of the work.
Checklist: prepare the electrician's site visit and quote brief
A detailed brief reduces guesswork and makes quotes easier to compare. Send information before the visit where possible, but expect the electrician to inspect uncertain routes and existing electrical conditions in person.
- Provide clear photos. Include the bathroom, the proposed fan position, the outside wall or outlet area, and the loft or ceiling access route where relevant.
- Share room dimensions and use. Give the room length, width and height, and state whether it contains a shower, bath or both.
- Describe the existing installation. Include the make or type of old fan if known, where it discharges, whether it is noisy, and any signs of damp or mould.
- State your preferred controls. Say whether you want light-linked operation, an overrun timer, humidity sensing or another arrangement.
- Ask for an itemised scope. The quote should distinguish fan supply, electrical connection, ducting, core drilling or ceiling work, external grille, making good, testing, certification and disposal of the old unit.
When quotes differ, compare the assumptions and the route being proposed, not just the bottom-line total. A cheaper quote may omit ducting upgrades, making good or an external outlet that another contractor has sensibly included. For more questions to ask when comparing local professionals, see this electrician near me checklist.
Checklist: understand what affects the cost to fit an extractor fan
There is no honest universal price for fitting an extractor fan. The cost depends on the work needed to create a safe, effective route and electrical connection, not simply the price of the fan on a retailer's shelf.
- Expect a like-for-like replacement to be simpler. Replacing an existing fan can involve less labour when the electrical connection and ducting are sound, accessible and suitable for the new unit.
- Budget more for a new installation. A ceiling or inline system may require loft work, ducting, external penetration, a grille, cable routing and making good after the installation.
- Factor in access and building fabric. Difficult loft access, solid walls, tiled surfaces, awkward exterior access and concealed obstructions can all affect labour and materials.
- Include the selected controls and fan type. Humidity sensing, timers, quieter models and more capable fans may change the supply cost and installation complexity.
- Allow for electrical improvements if required. If the existing circuit needs attention, that should be shown separately rather than buried in an unclear lump sum.
For an uncertain route or an older installation, obtain written itemised quotes after a site assessment. That is more useful than chasing an online average that may bear little resemblance to your bathroom.
Checklist: verify the installation before final payment
Take a few minutes to check the completed work with the electrician. Problems are much easier to clarify at handover than after the installer has left and bathroom use has resumed.
- Test that the fan starts as agreed. Check the chosen switch, light link or sensor arrangement works in the expected way.
- Test the timer or humidistat. If an overrun or humidity setting was specified, ask the electrician to demonstrate it and explain any adjustment available to you.
- Confirm that air is discharged outdoors. Check the external outlet while the fan runs and make sure any external flap operates properly.
- Inspect the visible finish. The internal grille should be secure, and vibration or noise should be reasonable for the selected system.
- Collect instructions and paperwork. Keep product warranty details, operating instructions and electrical paperwork where applicable with your home records. You can also review this guide to what certificate an electrician should provide after work.
Clean the internal grille regularly to prevent dust restricting airflow. If condensation persists, airflow drops noticeably or the fan develops unusual noise, investigate promptly rather than waiting for mould to return.
Bathroom extractor fan installation checklist: the essentials to take to your electrician
Use this compact brief when requesting quotes or arranging a site visit. Prioritise the essentials first; preferences such as finish and very low noise matter, but they should not displace safe installation and effective outdoor discharge.
Essentials
- Measure the room and describe how it is used. Provide length, width, height and whether the room has a shower, bath or frequent daily use.
- Agree the fan type and required airflow. Match the equipment to the room volume and the duct route, rather than choosing solely by a product headline.
- Choose the control method. Specify separate switching, light-linked overrun, humidity sensing or continuous low-level extraction.
- Plan the duct route and outdoor discharge point. Keep it short, smooth and practical, with no discharge into a loft or ceiling void.
- Confirm location suitability and electrical safety. Ask the electrician to assess bathroom zones, IP suitability, isolator arrangements, the existing circuit and applicable certification.
- Request an itemised written scope. Separate the fan, ducting, exterior work, electrical connection, making good, testing and paperwork so quotes can be compared fairly.
- Include commissioning in the job. Confirm operation, controls, external discharge and handover documents before final payment.
Nice-to-have improvements
- Choose quieter operation. An inline arrangement or a better-quality fan may be worth considering where bedroom noise or a peaceful bathroom is important.
- Add humidity sensing. This can improve day-to-day use in homes where fans are often switched off too early.
- Consider the visible finish. A discreet grille and carefully chosen exterior vent can make the installation sit more comfortably within the room and exterior.
Once your brief is complete, use ElectricianSearch to find nearby listed electrical professionals and share the details when requesting quotes. A clear scope gives every electrician the same problem to solve, making the final decision far easier.